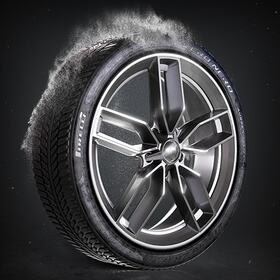
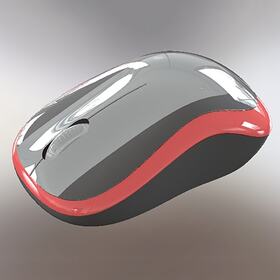
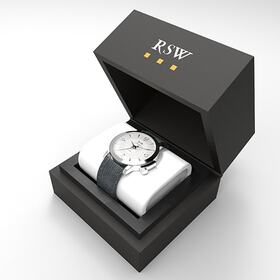


3D Models can be breathtakingly beautiful. A lifelike lion can take the place of a wild animal on a movie screen and be so beautifully designed it is virtually indistinguishable from the real thing. It's a long process from a simple mesh of an object like a lion before it reaches this level of detail, however, and part of the process is UV Mapping and Unwrapping.
Unless you're an expert at every aspect of 3D design, hiring a professional to do the UV Mapping and unwrapping for you is best. Hiring a 3D artist for their UV Mapping and unwrapping services will give you the best chance at getting a quality map that won't look strange or have weird changes in color or texture.
It's essential to hire someone familiar with the process is essential to get a high-quality product.
UV映射和是什么Unwrapping
A UV Map is a 2D representation of the colored 'wrap' covering a mesh model. Picture a box covered in a gift wrap cut exactly to the box's dimensions. If you were to carefully unwrap the box and let the paper lie flat, this is what a UV Map looks like.
Creating a UV Map for an object is important because models can't be textured in their 3D form. Instead, the UVMap is used to texture it while flattened in its 3D shape and then placed back on the model.
The process of creating and flattening this image is called UV Unwrapping because it looks like you've unwrapped the UV Map. This map can be colored and textured, so that when it's time for that 3D lion to come to life, the 3D map covering it looks just like the real thing.
While the process of UV Mapping and Unwrapping is relatively simple when it's a box, it can get a lot more complicated when it involves something with curves or that bends and moves in the right way. Create your unwrap the wrong way, and you'll end up with distortions that will change the final product in an undesirable way.
The inevitability of seams
Just like the box we talked about earlier, any UV map is going to have seams. These seams are where the edges of the UV wrap meet. The skill level of the person applying the wrap will determine how visible these seams are, as well as to a certain extent the project itself.
The goal of an artist working on a UV Map is to wrap the mesh model so that the seams are as minimally visible as possible.
You also want to have as few seams as possible. If we go back to the example of the box wrapped in paper, while you could cut each side to be its own individual piece, it won't be easy to line all the edges up precisely.
It will be noticeable to the viewer if the seams don't line up, and that will affect the overall quality of the product.
Seam location can be tricky, but you can follow a few guides to help minimize their appearance. In general, if the model you have has a hard edge, having the seam follow that edge will make it less noticeable.
Hiding the seam underneath the object can also work, since it will be less noticeable from most perspectives, compared to a seam in a more obvious area.
Checking for distortion
Distortion is another common and virtually unavoidable problem that comes from flattening a 3D map into a 2D shape. While distortion is difficult to avoid, it can be kept to a minimum through careful handling.
An easy way to check and see how much distortion your UV Map has is to use a simple checked pattern on it. Once you've applied the wrap to your mesh model, it will be easy to see distortions in the black and white prints. You can adjust from there to create a UV map with as little distortion as possible.
Automatic vs Manual
If it's not necessary for the UV map to be perfect, you can use software to do the UV mapping instead. 3D Coat is one example of software that can do this for you. With software like 3D Coat, UV mapping can be done with a single button click.
This can save a lot of time but comes at the price of aesthetics. If the 3D model is for a game or something that needs to look its best, UV mapping manually is still the best choice. Automatic software doesn't allow you to choose seam placing and thus won't look as good as manual placement.
Texturing the 3D map
Once a UV map has been created and flattened, it can be textured to make the model look more realistic. Texturing gives life to the model and helps it look more lifelike. Texturing is critical to showing an object's material, smoothness or roughness, and other fine details.
Without UV mapping, the results of your work may look odd and will undoubtedly be distinguishable from the real thing.
How 3D Modeling Services can help
Creating the perfect 3D model is a challenging, multi-step process. Once the mesh model is complete, there are still many steps before the model looks like the desired object. A talented artist can design the UV map so that seams are hidden and the texture flows naturally across the entire model.
When selecting someone to do your UV Mapping for you, their portfolio can offer clues about their skill level. It should be readily apparent if their UV maps are good quality or not. Poor quality UV maps may have seams visible and in odd places or don't look realistic compared to the object they are going for.
If you find an artist who does beautiful work that looks realistic, you've also found someone who knows how to make a high-quality map.


